Before the advent of the potato in most of Europe, Parsnip was a staple of roots. Poor things have received a bad rap in our modern time demand of taste. Some hate them. Some love them. Most... have never even had one.Their flavor is matured by a good frost. The grocery store kind have been chilled in the modern "cold box" way. Steady cold temps and a manufactured environment. This new crop will be the test to possibly determine if it alters the natural garden taste {which I am sure it does but experimentation is far more fun}. Soil & environment does affect taste as we all know as gardeners. Do not judge the parsnip until you've tasted some homegrown roots. Do not bother harvesting until winter has set in. You want home grown taste, then go all the way with it. I'll get into that in a moment.
Parsnips are not very hard to grow. They bring valuable nutrition to the table as well as store exceptionally nice. Marine, My sister in law, would be aghast at this next comment being she is a huge potato lover..look away Marine... look away!....
Parsnips can be used in place of potatoes and have more nutrition value when it comes to Folic acid. That much needed essential for pregnant moms.. cough cough someone I know.... We are growing the
half long Guernsey parsnip from...yeah. Baker Creek Heirlooms. Sorry my friends for the once again mention, but THAT is whom I have ordered from the last few years.
The Guernsey variety was the most popular parsnip of the 19th century. Introduced prior to the 1850’s, this variety is medium-long, and has thick shoulders and smooth white skin. Flavorful flesh gets even sweeter after a good frost in autumn. In 1898, Nebraska Seed Company of Omaha said, "As name indicates, not as long as the Hollow Crown. Quality very sweet and delicate."
A review on their site posted by SmellyCat{ Can you hear that? Phoebe from Friends singing Smelly Cat in the coffee shop..I swear I did not make it up} anyway. They wrote: They are probably the sweetest parsnips I have ever tasted, they roast well too. Added to potatoes they're excellent!

Take in mind, we are not discussing the WILD parsnip. No. No. No.Cultivated varieties are the only ones you can eat. Wild are poisonous! Some people who have grown the cultivated variety have experienced a sensitive reaction to their greenery, so I advise take care and do not tend their area in a small halter and do not even consider trying
au naturel tending until you know if you are amongst the few sensitive to their greenery. Think blisters like poison ivy for those rare sensitive humans! I'll spare you the picture but feel free to look it up for yourselves.
Modern society Americans have turned up their noses at this once Upon a time Regal root. It has pedigree, in a way. At a time in history, the Parsnip was looked upon as a delicacy. Frequently treated as an exotic dish and in some circles, held a very high demand. In Medieval times, they were a fast day food, particularly popular with the poor. The Elizabethans admired the sweetness of it's flesh & it was amongst the Virginia colonists' Old World introductions.
Modern diets are overpowered with sugars and processed staples. Our minds & mouths have become accustomed to such textures & tastes that when simplicity of a natural diet come along, people shun it. Proclaiming the "twigs & berry" attitude associated with health foods due to ignorance of many levels.
Away from such talk. Lets focus on why this has been selected for spotlight in the Cottage Pantry Potentials.Besides having a Worthy Nutritional value consisting of the many B vitamins and so on. This
link* will provide far more nutrition information then I have room to share today.
 Parsnips growing in the Soilman 's garden
The seed is slow to germinate & unevenly sprouts.Sow in early spring being sure it is shallow as one would a carrot. Instead of wasting seed which will end up being thinned to every 6 inches, be a bit more articulate and alternate in the row with a small heading lettuce- Parsnip then lettuce. Parsnip then lettuce..So on & So on. The lettuce will come up before the parsnip, marking the row as well as providing adequate space between each parsnip. Remember, Parsnip is a root crop and planting the above surface lettuce just 3 inches from each parsnip will provide a very nice coexistence. Saving space & empty appearing spots. Not too mention, keeps one from planting them too close causing the roots to intertwine.
DO NOT freshly manure their space. Just as in carrots, this may cause "forking".

Would you like to know a simple trick to achieve show quality parsnips? "Bore" a broom handle into the spot of Parsnip sowing up to 2 feet {YES! TWO FEET} deep and 12 inches apart. Move the handle in a slight circular motion so the "bore" is an inverted cone shape and about 6 inches wide at the mouth of the hole. Don't plop that seed in there yet! Fill the "bores" with potting compost/sifted soil and pack it firmly in the hole you just made all the way to the top. Now you can sow your seed & lightly cover with soil. This is the traditional method of obtaining show quality produce as shared in "The art of the Kitchen Garden" written by Ethne Clark. Seems like so much work but if you were afraid of work, then you would not be gardening.
Now lets point out the nutrition value mentioned as well.
I could not find a single source for exact 100% listing of their complete nutrition value. Some have forget to to mention the hefty vitamin K value with the listing too. So here is a round about idea:
"Nutritionally, parsnips are low in calories, about 130 for a whole one 9" in length, and contain no saturated fat or cholesterol. That same 9" parsnip can boast a 6.4 grams of fiber, 93.1 mcg of folic acid (that's nothing to sneeze at), 59.2 mg of calcium, and 46.4 mg of potassium, and lesser amounts of vitamins B1, B2, B3, vitamin C, iron, and zinc." {*direct
quote source}
I direct you to...
That British Woman *! She has 50 + 1 parsnip recipes in the
post linked above*.
This simple looking dish from BBC food looks to be a keeper! PLUS, it includes celeriac.
Parsnips & Celeriac casserole*
How to harvest & Store your Parsnips.
If you have some ambition and time, you could make yourself a backyard
root cellar the old fashioned way:

I direct you over to the blog of Genesee Country Village & Museum in Mumford new york {*link above} to see & learn more of their set up above.
Or, you can leave them in the garden, nestled under a thick mulching layer of straw for the winter. Taking them as the need arises. The only problem one may foresee is their tops will have died down, making the spotting of your roots a bit of a guessing game. One can always mark them off with twine tied between 2 sticks of the row just an inch from the ground. Lay your straw carefully over the twine and harvest through the winter starting at one end, lifting the string as you go down the line. Just twirl the excess string around that ends stick marker, resetting it where you stop harvesting. marking the continuation line for the next winter dig.
Harvesting is like with Carrots. Their a root crop, so the mentioning of how to harvest a root is more common sense. I will add to all of this, Parsnips are relatively free from disease, unlike carrots, which can be ruined by Carrot root fly. plant your carrots by your tomatoes. Remember, Carrots LOVE Tomatoes. Their companionship helps deter those nasty root flies.
Parsnips have been neglected far too long. They deserve today's long post and your consideration of inclusion to your Food garden.
Now my mind is turning back to that root cellar.... Wonder if Mr. J would indulge me that one?.... Maybe?....
Sweet Dreams,~Tammie
 Crazy! What a difference a day can make! The picture below is a shot of the inside of the top section, after I painted the interior walls. I decided to use the roll of beadboard wallpaper that I already had to line the shelves.
 Super easy fix! Just measure, cut, wet, and smooth it out!
 The below picture is the interior of the bottom section. I love that there is a top shelf. I have SO much kitchen crap, you don't even know!
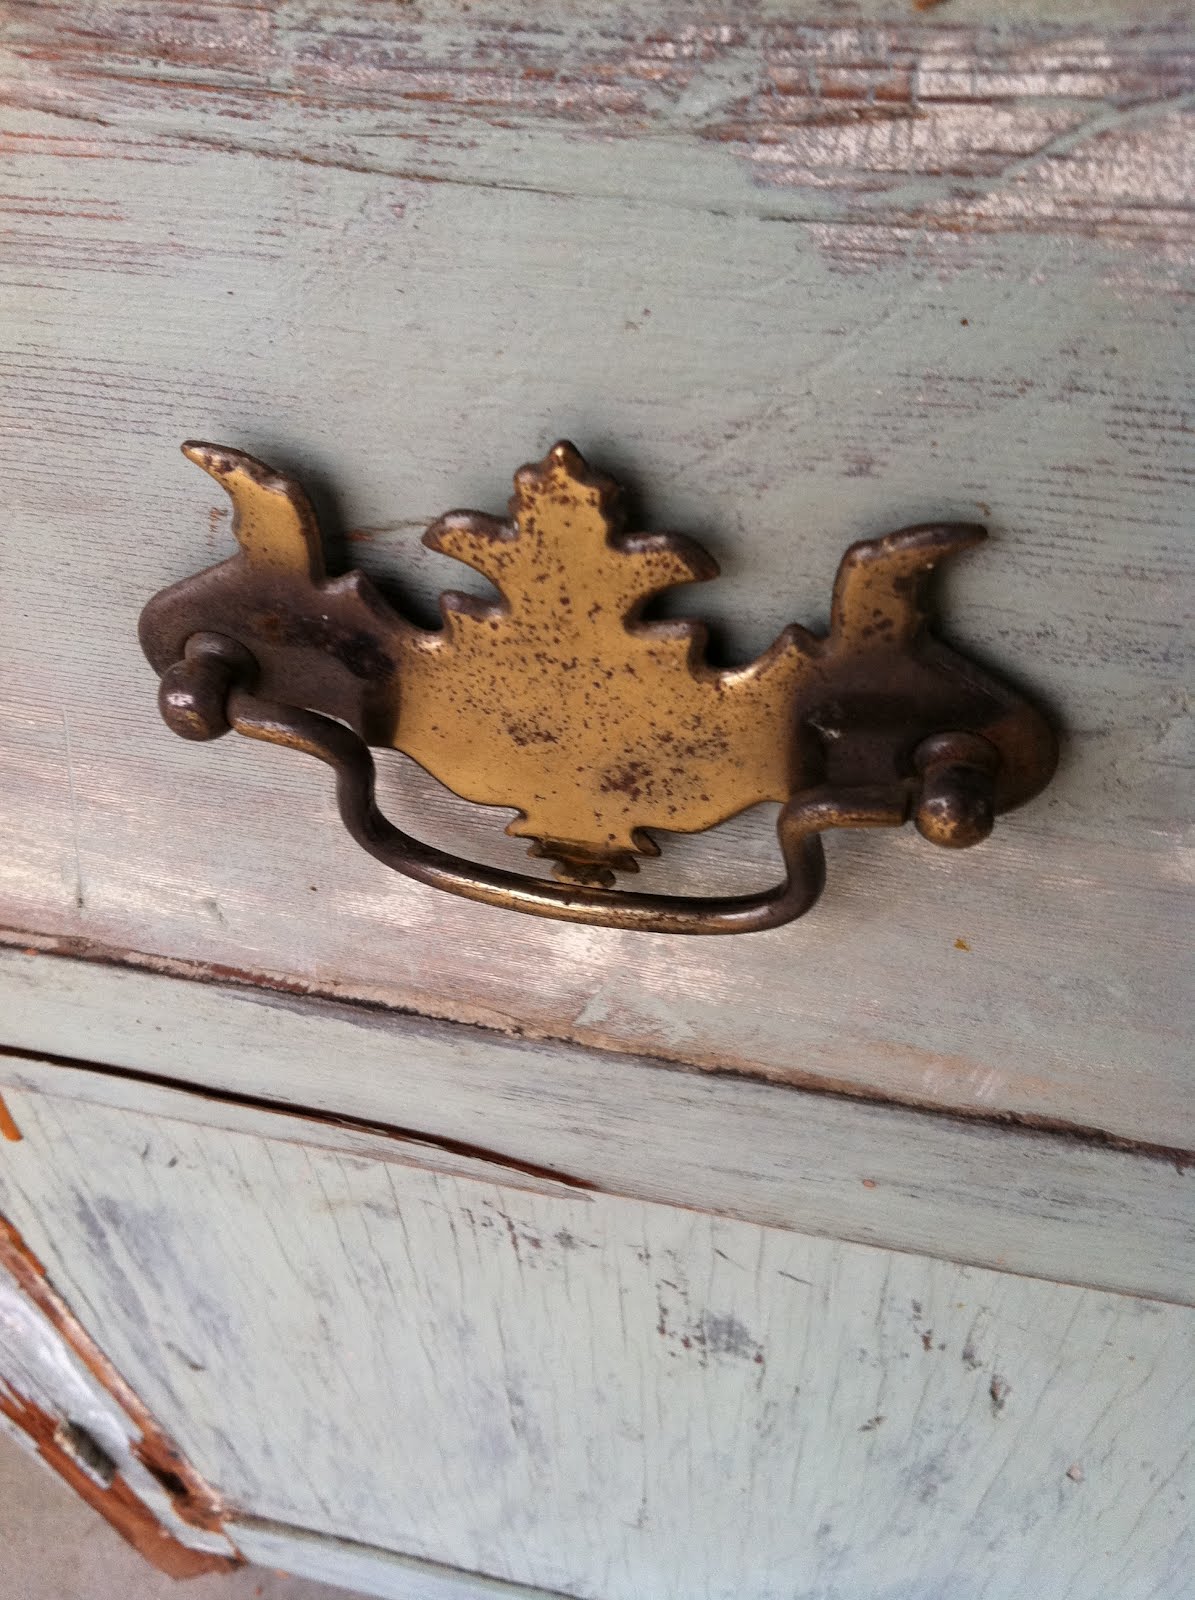
 Here is what it looks like after I started filling it and decorating the top. I took a drawer from my top shelf decorating (and it looks fine without it). I just love the look of the natural wood with some areas of white washing, and the beautiful drawer pull I added. Mixing old with pretty just totally does it for me! I flipped it over, so that the stuff on top wouldn't lose a few inches of visibility by being IN the drawer. There was a wooden track on the bottom of the drawer, keeping the stuff from sitting flat, but that was nothing a hammer couldn't remove. ;)
 Here is a close up of the inside of one of the doors. It's the easiest way to see that the paint is not solid. The lighting in my dining room make it hard to see in pictures. In case you're wondering, it's called Kiwi Kissed by Olympic, from Lowe's. It looks totally different on the swatch, than on the furniture, if you ask me, but it was the perfect match.
 Ok, before and afters...


 This is the closure for the top half.

 As for the drawers, they were really ugly inside, so I wiped them down and also lined them with the beadboard wallpaper.
 One last shot, you can see the tops of chairs because I'm standing on the opposite side of the dining room table. I'd take a room shot, but my table is quite the mess from all of yesterday's work and I haven't taken care of cleaning it off yet. ;)
 It is my favorite piece in my house now! It cost $90 (it IS from an antique dealer after all), and less than $3 for the paint sample size (since I only lightly dry brushed over it). I already had the drawer pulls from Restore, and the knobs were probably less than a buck. I also already had the wallpaper and white paint for the interior of the bottom section.




 I seriously love this stuff. It's easy to apply and gives a great finish.


