Showing posts with label tutorial. Show all posts


I'm THRILLED to announce that my first jewelry instruction book will be 
published by North Light Books and will be available February 2014! 

The book will feature a beautiful selection of jewelry projects that I designed, 
and will be full of great tips and techniques! If you've ever wanted to learn how to 
make jewelry like me, here you go!  


Stay tuned to my blog and Facebook page, where I'll be announcing when 
the book is available for preorder!


Thanks for visiting!

Continue..

Filed Under: , , , ,


 It's the last day of Scarves for a while anyway.  These were fun to put together and play with different options.

I did learn something I hadn't realized before.

Not all t-shirts are made the same.

I mean that some of them have side seams, and some don't.  All the one's I got at Goodwill have side seams.

It's not a deal breaker, but it definitely changes what you can do with them.

Since my husband won't part with any of his t-shirts right now, I may go back to Goodwill and see if I can find some without side seams, but for now, I'm happy with what I have.

You need to find a shirt that is XL or XXL to make sure you have enough fabric.

Let's start cutting!


Cut up the t-shirt into 1 1/2 inch strips.  Cut out the sleeves and the bottom hem.
I kept cutting all the way up to the neckline.  Since I have side seams,
I have to join each strip anyway so I can use the upper chest portion between the sleeves.


Now that you have all the strips, cut off the seams and fold 2 strips over.
Cut about a 1/8-1/4 inch through both strips like shown.


Lay the strips end to end.


Lay one strip on top of the other.


Take the other end of the bottom strip and poke it through the holes you cut.


Pull tight and you've joined the two strips.

Continue this process adding all the strips you cut.

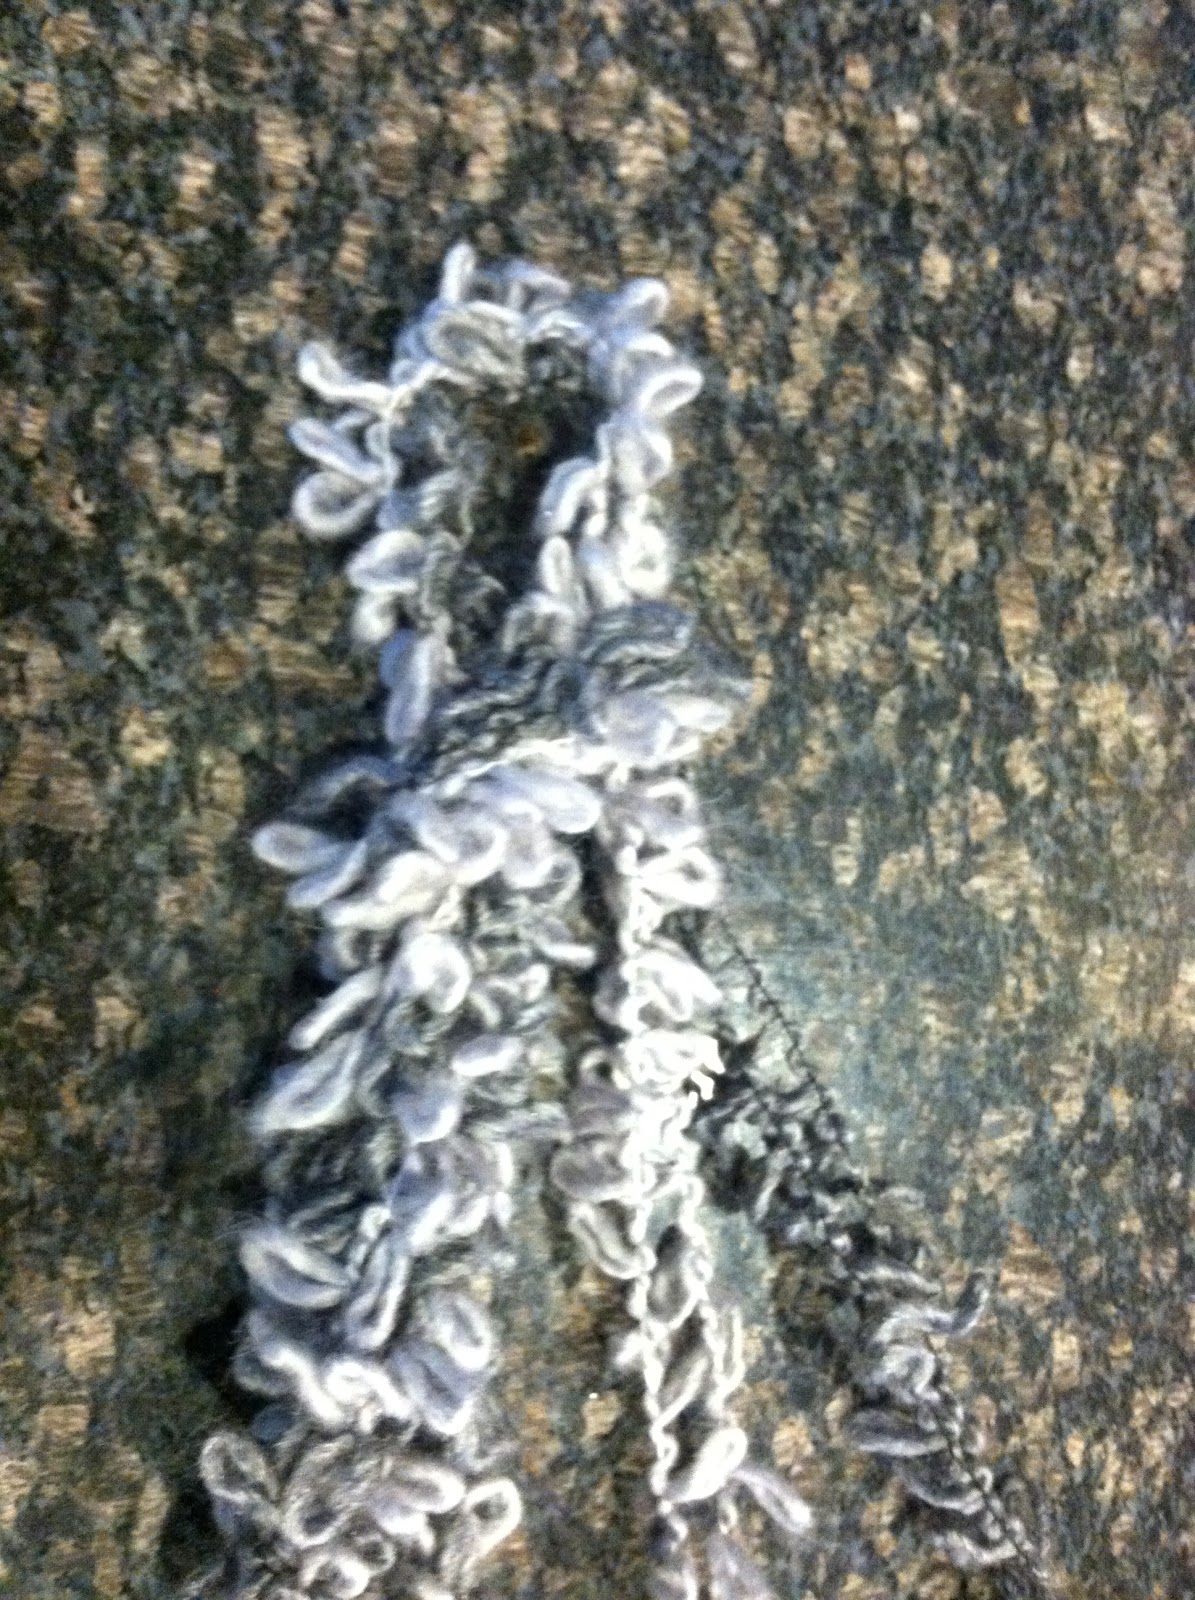
Then holding each knot, pull the fabric to stretch it and curl the edges.
It will nearly double the length of each strip and 'finish' the edges.


Drape one end around your neck to decide how big you want the smallest circle.
Then coil up the rest of the fabric, gradually getting bigger with each loop.


Take the 2 ends and tie them around all strands of fabric.
I wrapped the ends in a criss-cross pattern then tied a double knot at the end.
Tuck the loose ends into the knot.

Done!


 Now for the Tan shirt.  It's very similar, with a few minor changes.


Cut the shirt apart all the way including the hem and sleeve seams.


I originally thought the side seams wouldn't matter, but they do.
I cut about a 2 1/2 in strip in a spiral working up to the top of the shirt.


Cut out the side seams and join the strips in the same manner as above with the slits.


Here's the bottom layer poked through the slits.


Pull the strips tight to form the knot.


Stretch each edge of the strips of fabric to curl them into a slight ruffled edge.


With some of the sleeve fabric cut two strips about 1 inch wide.
Stretch the strips to roll the edges.


Find the 2 ends of the large piece and join them together overlapping about 4-6 inches.
Tie with the rolled strips you just made.


Start tying single knots with the loose ends like shown.

Start from the top and work down, then start from the bottom and work up.
Your knots should meet in the middle.  Tuck the loose ends inside the knots.


The finished knots should look like this.


 Loop it around your neck and you're done!


Thanks for joining me today.

Next week will be all things Valentines. decor, bunting, printables, treat baskets, and photography ideas for Valentines Cards.

Have a fabulous day!


Continue..

Filed Under: , ,


I live in a house nearly full of boys.
And amidst all that testosterone,
sometimes a girl just needs to wear something ruffley and pretty.
This scarf is it.

It's from the fabulous fabric I found on my recent shopping trip to SAS.
You remember all those pics of the gorgeous fabric I found here. 

This time I did something a little different.


The original inspiration came from Pinterest, but here's the blog post.
But I didn't dye anything and I only did two seams rather than three.

Now let me show you how I did it.
It uses about 2/3 yards of sheer fabric.
Cut the fabric into 3 equal pieces like shown.
You will need the length as you gather it all up.


I did a rolled hem to join the three pieces into one long strip of fabric.
This hides the selvage and makes a nice hidden seam to join them.


Trim the ends to the shape you want.  I did a curved edge.
Then I burned all the edges with a candle the same way I did the Black and White scarf.


Next I used elastic thread on my bobbin to make the gathers in the fabric.
Remember to wrap the elastic thread firmly, but not super tightly. 
You may need to adjust the tension on your machine to get it to sew properly with the elastic.

I sewed two lines down either side of the strip of sheer fabric.


Here's a few close ups of the scarf with the burned edges and gathered seams.


And done.  Tie simply around your neck and
You Look Marvelous!


Some cute ruffles to dress up any outfit.

Lovely!


Continue..

Filed Under: ,


I'm so addicted to scarves right now.  
And not even the ones that keep your neck warm in the cold.
It's become my fashion accesory of choice.
My favorite are the ones I can whip out in a matter of minutes.
This time, it looks like you spent hours crocheting or knitting. 
Nope.  About 10 minutes.
Probably less once you understand the process.
All you need are your hands.
Yep. No tools required!

Intrigued?
You should be.
This project is so easy, even non-crafty types can do it.
I promise!
Ready to be addicted to making scarves?
This project was so easy, I wanted to make several at one time.

And it's all thanks to my Mom!  She is the one that taught me, and now
I want to share with you.
Thanks Mom!

Yarn Scarf


First you need 2 skeins of super loopy big yarn.
Traditional yarn won't cut it.
I scored these for $3 each skein at Michaels.

Unravel each skein.  Lay it out loosely so it doesn't get tangled.


Find the ends and put them together.


Keep the two strands together as you work your way to the middle of the skein of yarn.


Put the 2 strands together and tie a simple knot leaving a large loop at the end.


Now reach through the loop and grab the 4 strands of yarn.  Pull them through the loop.


Reach through the loop you just created and pull the 4 strands through.
Now reach through the new loop and pull the 4 strands through.

Repeat until you finish the whole length of yarn.  
I left the loops loose and didn't tighten them down too tight.
It will keep the scarf light and fluffy.

Tuck the ends in by looping them around and pulling tight to secure.


And you're done.
I made mine while one batch of my Cowboy Cookies baked and had time to spare.

Now let me show you how to wear it.

Take the scarf and fold it in half like shown.


Take one strand and put it through the loop.


Take the other strand and put it through the loop from the under side.

It's kind of weaving them in place.  

I love the way it looks!


A fabulous scarf that everyone will think you either bought or took hours to make!
And only you and I have to know your secret!
You'll get lots of compliments on it!

You're welcome! ;)


Continue..

Filed Under: ,

AD

Related Posts Plugin for WordPress, Blogger...