Showing posts with label Burlap. Show all posts

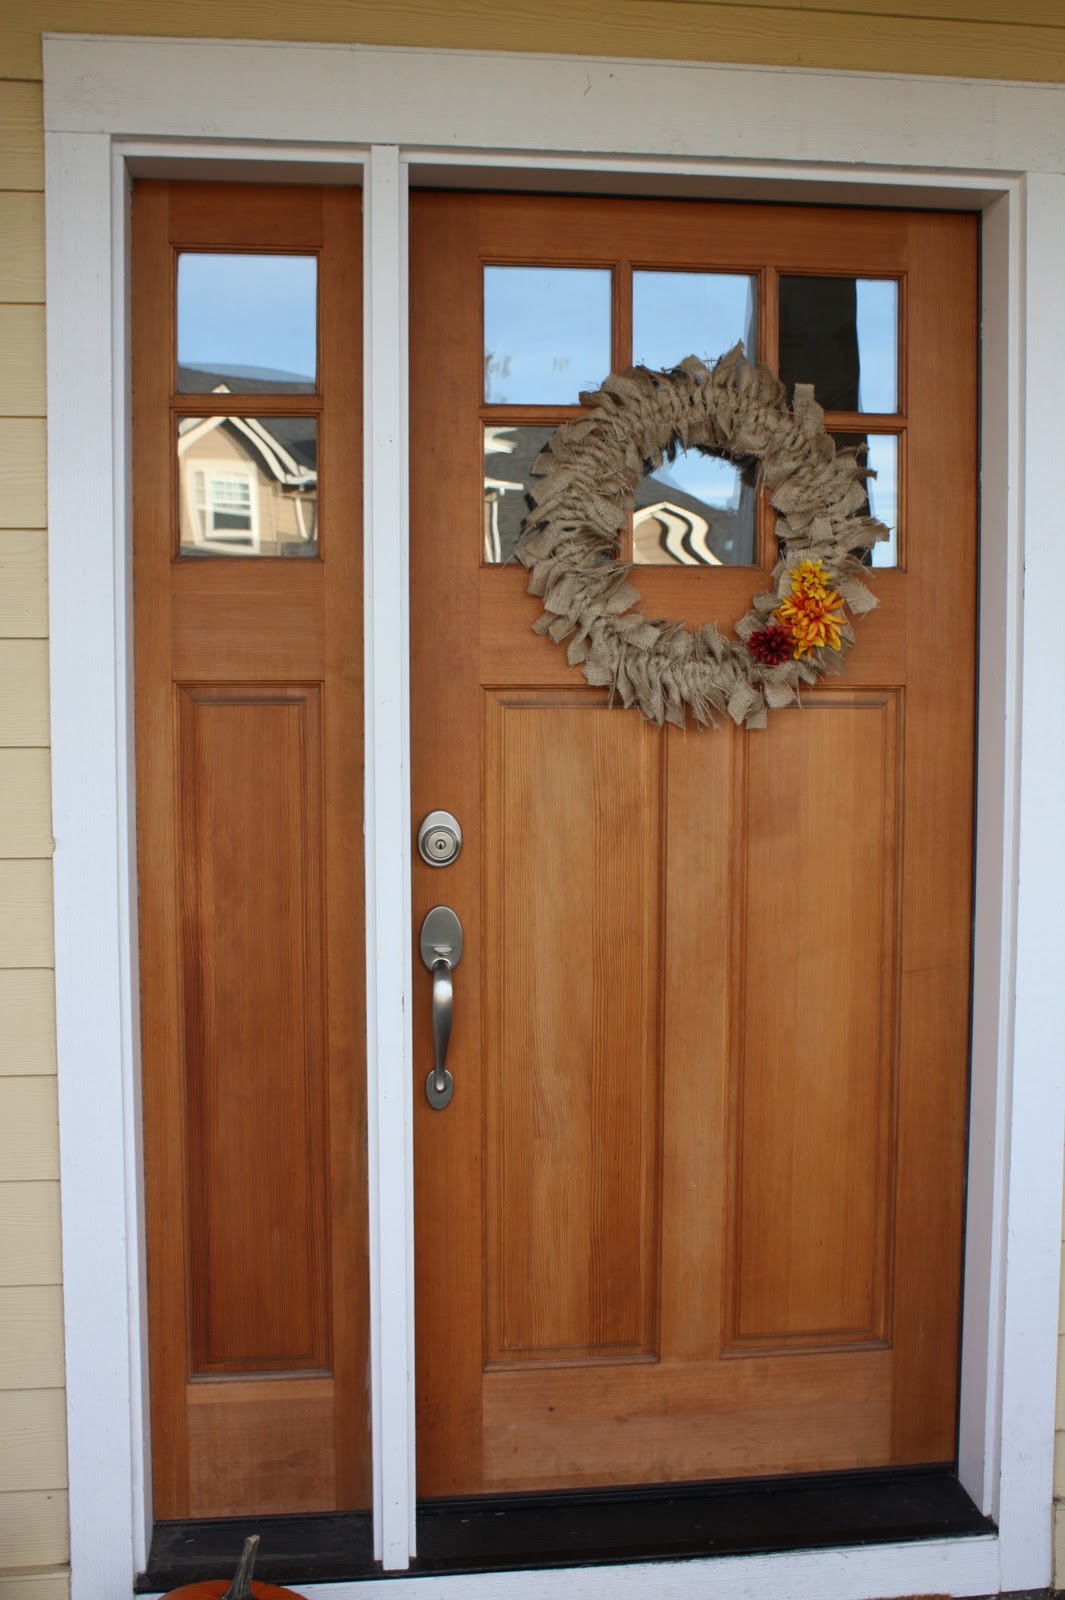
Maybe after the holidays I will get off my letter kick. I just cannot seem to stop using them in my craft projects. I am all about having easy and cost effective holiday gifts. I made this easy wreath for my mother-in-law. Don't worry she will not see it on my blog.  I grabbed a wire wreath, mod podge,  1.5 wired burlap ribbon from Amazon, a paper mache V from Hobby Lobby, furniture tacks from Jo-Ann's, and a piece of scrap fabric that I had gotten at Jo-Ann's for another project.


I simply cut the strips of burlap and twisted them around the metal wreath form.  It was quick and easy. I did it during a episode of Mickey Mouse Clubhouse. You can tell I really need a distraction while watching that. Then I mod podged the fabric that I cut to the paper mache letter, which I did later on while watching Top Chef.  I am trying to get a lot done during television shows. Once it was dry I attached the tacks to the letter.  

The total cost for this wreath was approximately $30, which was much less expensive than the wreaths I had my eye on in the Etsy shops I had checked out.

Thanks for stopping by!

Megan


Sharing at:

Monday
Alderberry Hill
The Gunny Sack
The Dedicated House
Adventures of a DIY Mom 
Home Stories A to Z
Todays Creative

Tuesday
Uncommon Designs
A Diamond in the Stuff
Elizabeth & Co
Romance on a Dime
The NY Melrose Family
The DIY Dreamer
Claiming Our Space
The Winthrop Chronicles
Full Circle Creations

Wednesday
Southern Lovely
We Like To Learn As We Go
The Shabby Creek Cottage
Someday Crafts
High Heels & Grills

Thursday
The Taylor House
At The Picket Fence
Live Laugh Rowe
A Glimpse Inside
Seven Alive
52 Mantles
Fireflies and Jellybeans
Bloom Designs
House of Hepworths
Momnivores Dilemma
Western Warmth
Saving 4 Six

Friday
One Project Closer
504 Main
Redoux Interiors
Craftionary
The Grant Life
Just Us Four
Thrifty Handmade Days
Tatertots & Jello
Fresh Eggs Daily

Saturday

Too Much Time On My Hands
Tutus and Tea Parties
Classy Clutter
Its Overflowing

Sunday

Nifty Thrifty Things
Flamingo Toes
Twigg Studios
C.R.A.F.T.
My 1929 Charmer
Brassy Apple 

Continue..

Filed Under: , , ,


I finally finished my Burlap wall project.  It took a little while to assemble all the things I used in this collection, but it's done and I love it. And I only spent $5 on the shelf.  Everything else I already had, or made.  Here's the original post where I made the clock pieces.
After it was all done, my husband said it looks like something from a magazine.  Sigh.

Here's the original Clock face I got from Graphics Fairy.
I combined her Clock face and Chocolate lable to create this combination.
Next I used the paper method I learned from Pottery Barn to decide where the elements would go.  You can watch the how-to video here. I also marked where the studs were with the pink post-its.  

I made these 5x7 graphics to go in my little black IKEA frames I had painted years ago.  It was time to dig them out and give them a new life.  The lyrics are from our song, Bless the Broken Road by Rascal Flatts.  I used Jellyka Western Princess font.  The keys came from Graphics Fairy and I added a script brush for the background in Photoshop.  Just a little more vintage to the look.  Then I printed them out on gray cardstock and cut them to fit my frames.  I really love how they turned out.              
I needed a pretty knob for my sign so I made one out of a large head nail, glue dots and a vintage button I found in my button stash.  Super easy to put together.  Hammer the nail in place and add glue dot to the nail head.  Then firmly press button in place and you're done.  Super easy and totally customize-able!


Here's a close-up of the knob in place.


 Here's the overall view.  Now for the elements.


Vintage Keys.


Here's the Pottery Barn Shelf I got at a thrift store for $5 and refinished using vaseline and paint with some heavy distressing.  
I super-love how it turned out!


This is actually cardboard and some ripped up sheets.  I followed a similar method to when I made my Fabric Wreath.  Only this time I just glued the ruffles in a circle spiralling to the center.  I cut out the C from some scrap beadboard, painted it white, and stained it with ebony stain.  The top is a vintage button with a plastic drapery circle to use for hanging all sewn together.


Last was this board that I cut, routered, and attached some clearance votive holders with cording. Then I filled them with some large cream colored silk flowers.


Here's a close-up of just the burlap clock.  I added some vintage apothecary jars, a tiny frame and a large red vase to the ledge to finish the look.


And done.   So pretty!

Continue..

Filed Under: , ,


I've been pondering more Projector projects since I still have my mom's Projector.  I did this project literally in about 40 minutes, and that included set up and clean up.  I still haven't hung them up yet.  I need some more pieces to complete the wall art but here's a quick project that turned out beautiful!

All you need is some burlap, a board, a staple gun and some sharpie markers.

 Cut the burlap to be about 2 inches larger on each side of the board so you can wrap it.

 I started with the centers and stapled the burlap down, folding under the raw edge.
Continue working around the edges pulling the burlap tight and stapling in place.  I had to use my hammer to help the staples lay flush to the board.

For the corners, I cut the burlap diagonally as shown to get rid of some of the bulk so the corner would fold properly and lay flat.

 Here's a close-up of the corner.
 Next I set up my projector and board.  I used a step stool to keep the board upright.  I had to add some extra boards underneath my burlap one to make sure the height was right for the image from the projector.
Adjust the location and focus of the image to fit your burlap.
Get out your sharpies and start tracing.

I merged two images I got from The Grapic's Fairy in Photoshop.  I loved the French Chocolate word art plus the clock face.  I plan to use the same image on a side table in the near future.


Here's the image before tracing.


And finished.  I'll definitely post them when I have them hung.

Continue..

Filed Under: , ,


My door (and entire porch) is lacking in the fall decor. Tomorrow night we have my husbands birthday party at our house in which we are expecting 30 people for the 2nd annual Chicken Wing Off (I will post pictures of the party). My front door needed some help...and quick! Last week, Abby sent me a photo of a burlap wreath she had seen at a craft store. I loved it (especially because I am loving burlap these days). This was one of the quickest, cheapest, and cutest projects I have done. It honestly took me less than 30 minutes to do. Here is how I did it....

Supplies:
1yd of burlap
1 metal wreath base
flowers or decor of your choice


 1. Cut the burlap into strips (the strips depend on the size of metal wreath base you are using). Play around with different sizes to decide what size strips you want. Burlap makes such a mess so I always put a sheet under my burlap project (or just do all of the cutting outside).


2. Tie the strips around the metal base...and tie...and tie...


and tie...


3. Once you are done, add your choice of decor! Simple, huh?!


I am planning on changing the decor on the wreath for the different holidays.

Remember to send me a photo if you make one!
Dare to DIY

Also linked at....


Continue..

Filed Under: , ,


I decided to participate in the "Create With Me" over at UCreate this month.  September's project is the tote bag from I Am Momma Hear Me Roar.

I payed less than a dollar for this bag!  I won some burlap from a giveaway over at Debbiedoos, the lining is a would-be thrifted t-shirt, and the paisley fabric is a $1 fat quarter from Walmart!


Unfortunately, I am not very good at reading and following directions (I just get too excited), so I had to modify things, so the bag turned out smaller...it is more of a purse size.  I love it though!  I got lots of compliments on it my first time using it!

Linking this up here and here.

Continue..

Filed Under: , , , , ,


This past week, we had some friends visiting (and we had a BLAST!).  I got some decorating ideas for a blank wall that I have been wondering what to put on it.  (The wall is a bit awkward with thermostat on it and a vent).  I have some plates and a thrifted mirror that I will be using.  I am extremely excited!

I thought I would share with you some great finds for home decor I found on Pinterest this week.  (Click on image for the source).


Twin Storage (Captains) Bed

063011plates8_rect540

Linking up here and here.

Continue..

Filed Under: , , , , , , , ,

AD

Related Posts Plugin for WordPress, Blogger...