
My Busy Buzzy Bee!
Wednesday, October 31, 2012
 My girl wanted a Bee costume this year and it turned out so cute, I had to share. Plus it only cost me about $8 for the Goodwill Sweatshirt and the black Walmart twin size sheet. I know it's super last minute, but here's the how to:
Get a large man's size yellow shirt. I got a fleece zippered pull-over at Goodwill. A regular longsleeved t-shirt would work too.

Next rip some strips from the black twin sheet. I did 6 - 1 1/2 inch strips, 2 - 2 1/2 inch strips, and 2 - 3 1/2 inch strips. Pull off the extra strings.

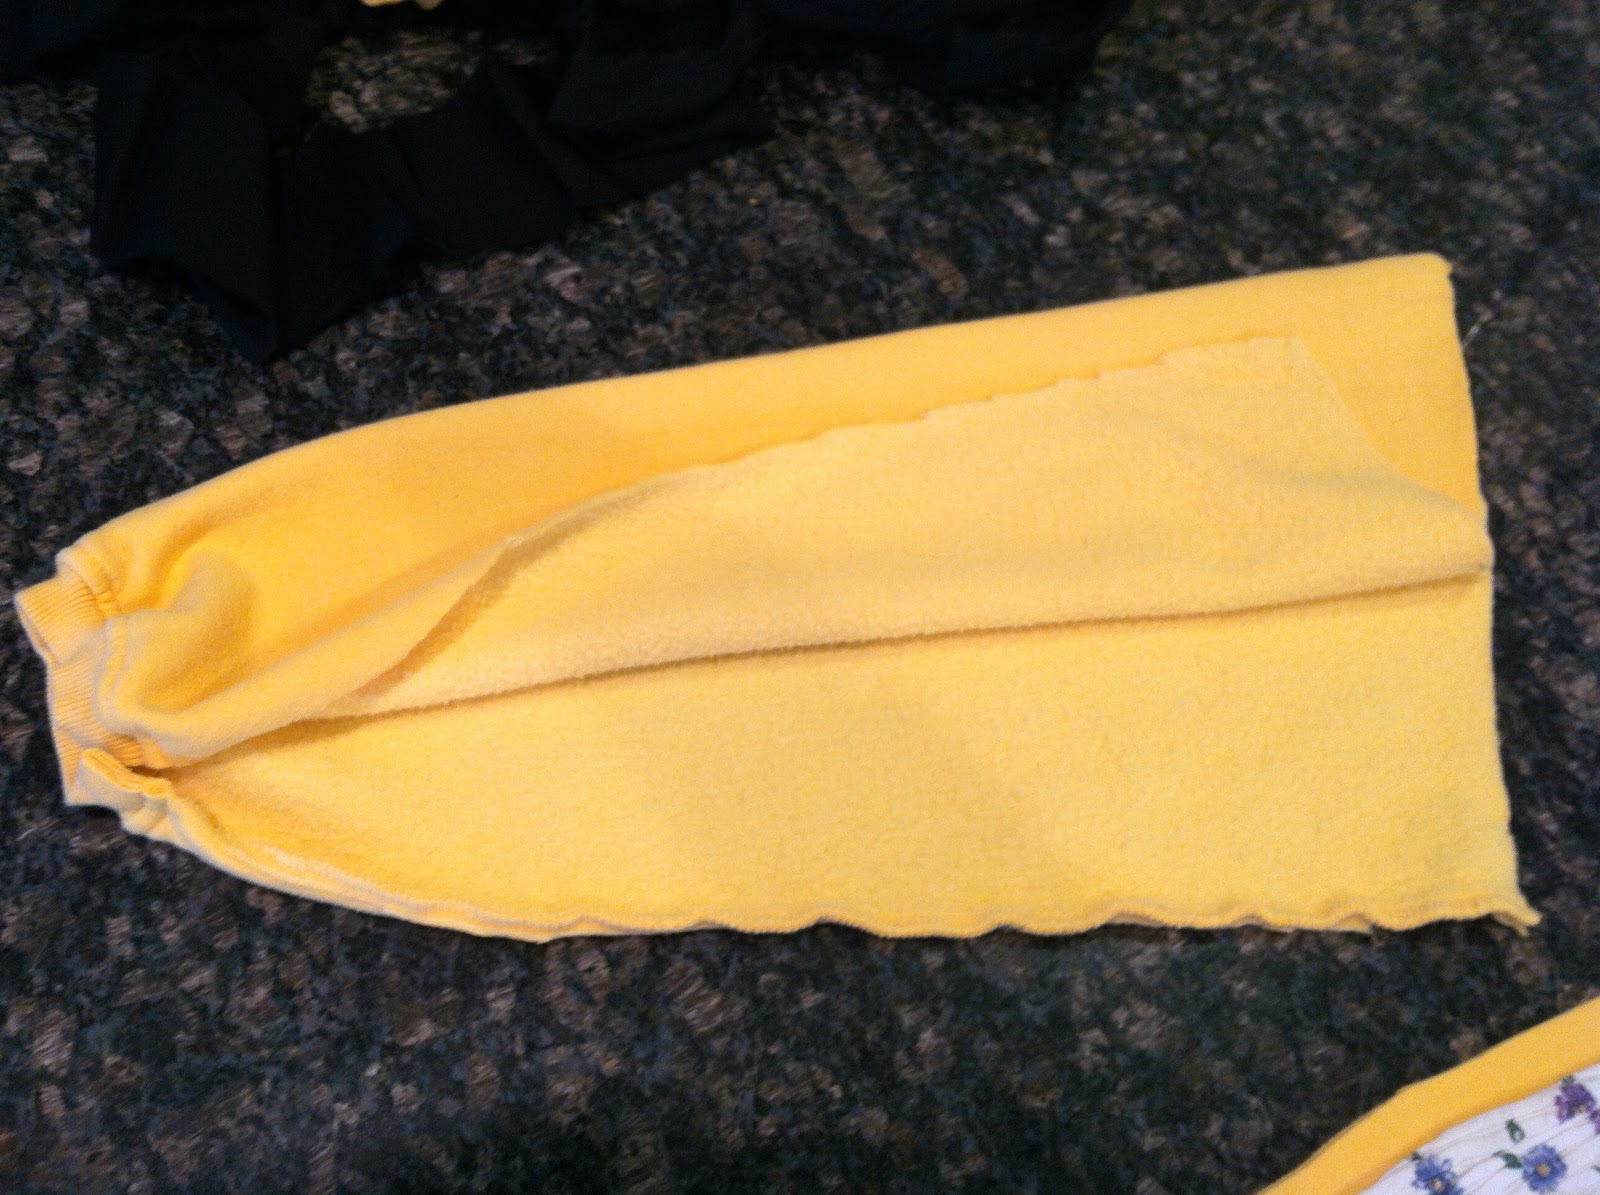
Cut out the zipper and neck band.

I used a dress she already had as a pattern.

Remove the sleeves and cut up the seam. Leave the cuffs on.
Cut down the sleeves to fit your girl. She wanted them to come to the elbow so that's the length I did here.

Since I cut out the zipper, I used a piece cut from the excess sleeve to cover the hole. It's wrong side out so you can see it better, but I topstitched it over the hole with the right side on the top to match the rest of the sweatshirt.

Next, use a ruler to mark lines where the bee stripes will go.

I stitched the strips on doing little hand tucks along the way. Stitch both sides of the strip. I love the random cute shape of the stripes.

Keep going most of the way down the front of the dress.

Now let's add the sleeves and sew up the side seams.

I used a piece of the 1 1/2 inch strips to make the neck line, similar to bias tape but I folded the fabric randomly to give it a slight ruffle. I think I will use this technique again on another shirt neckline. It turned out so cute!

Here's another close-up.

Now finish the bottom stripes, this time going all the way around. I did one strip with each width of fabric, gradually getting bigger in width.

The last ruffle only got two stitch lines across the top as I wanted a bigger ruffle for the bottom edge.

Here is the back side. I didn't mark the back so the top stripe is a little wonky. Perfectly Imperfect!

For the wings I used some super thick upolstery batting I had from another project. Regular batting will work, it just won't have the stiffness this batting has. You could add some interfacing to achieve the same effect.

Cut the shape of the wings.

Cut 2 pieces of white fabric and sandwich it together holding it in place with safety pins.


Stitch the wings in place. I used a spiral pattern for each section.


 Lastly, get a headband and some black pipe cleaners. I curled them in a spiral and attached them to the head band. Super easy and cute!
Now my girl is ready to go Trick-Or-Treating!


I safety-pinned her wings in place. 3 across the top, and one in the center bottom.


My busy Buzzy Bee! Too Cute!


0 comments:
Post a Comment